
Kiero Print Agent
Print Agent prints labels and documents from Kiero OMS without manually downloading PDF files. The application is available for macOS and Windows.
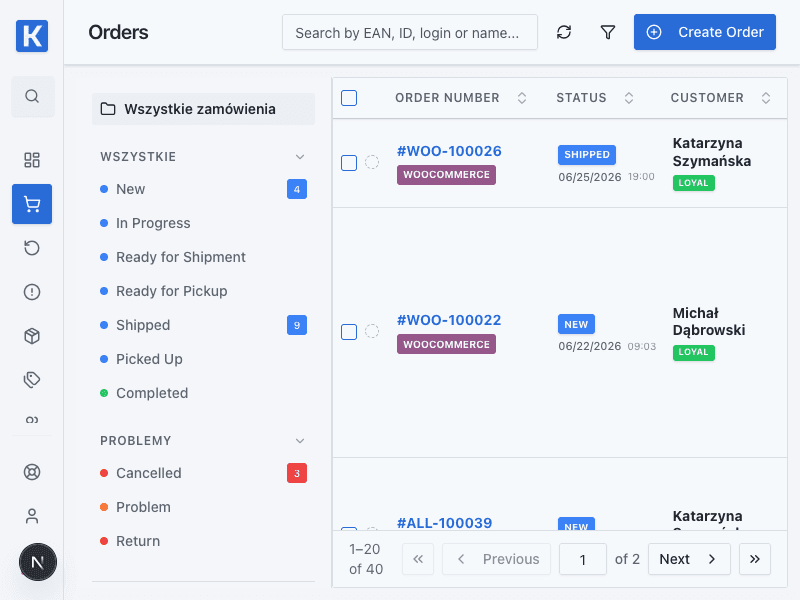
This view shows where you start preparing a label; Print Agent settings are described below.
Installation
- Open the public Print Agent page.
- Download the macOS or Windows installer.
- Install the application on the computer connected to your printer.
- Start Print Agent.
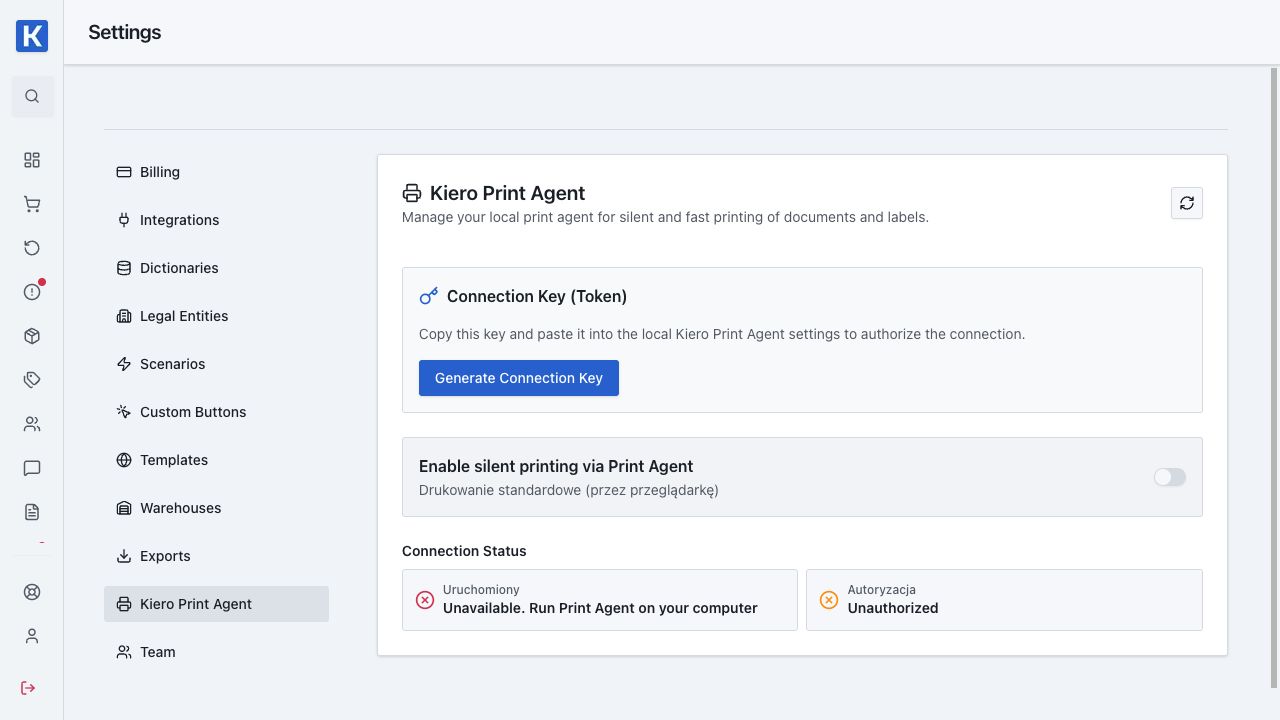
- In Kiero OMS, open Settings → Printers and generate an authorization token.
- Paste the token into Print Agent and connect it to your account.
First print
- Open an order with a prepared shipment.
- Generate the label.
- Select printing and confirm that the correct printer is selected.
- Confirm the printout and check the job status.
When the local Agent is available, printing happens directly. If the computer or Agent is unavailable, the job can be placed in the cloud queue and printed after the application is started again.
Printing does not work
Check that the Agent is running, the token is current, and the printer is visible in the operating system. If a job is waiting in the queue, do not create another label before checking the existing job status.